Backing up your Microsoft SQL Server database is unquestionably essential for keeping your data intact and accessible. Adhering to best practices implies having at least two backups; one onsite and one offsite. That’s where Nubepant Backup comes in — providing a comprehensive solution that can effortlessly back up Microsoft SQL Server databases to the cloud and NAS-based storage services.
Back Up and Restore MS SQL Server Database with Nubephant Backup
Nubephant Backup tightly integrates with Microsoft SQL Server’s built-in backup and restore mechanism, complements SQL Server compression by adding encryption, flexible scheduling, and a range of other options offered by our almighty Backup Wizard. In this article we’d like to describe how to back up SQL Server in Nubephant Backup, and also explain a few pitfalls you may encounter on your way.
Naturally, we assume that you’re already familiar with how SQL Server functions, as this article only covers the way in which our backup solution interacts with the SQL Server. Ensure that your server is up and running and then proceed over to Nubepant Backup.
Database Backup in Microsoft SQL Server
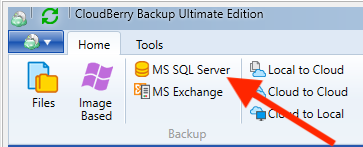
Launch the Backup Wizard by clicking MS SQL Server on the main toolbar or pressing Ctrl+B.
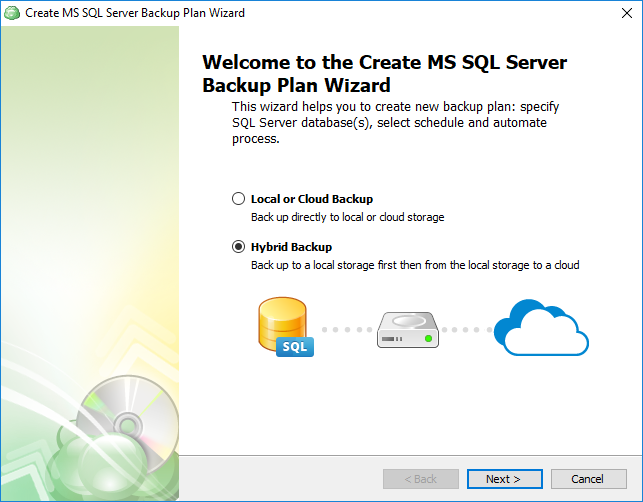
In the Backup Wizard, specify whether you want to perform backup to a single location or whether you’d like to backup first to a local storage and then to a cloud storage (Hybrid Backup). We recommend you to rethink your general backup strategy to fit in the 3-2-1 formula. Learn more about the safest backup strategy yet in our article.
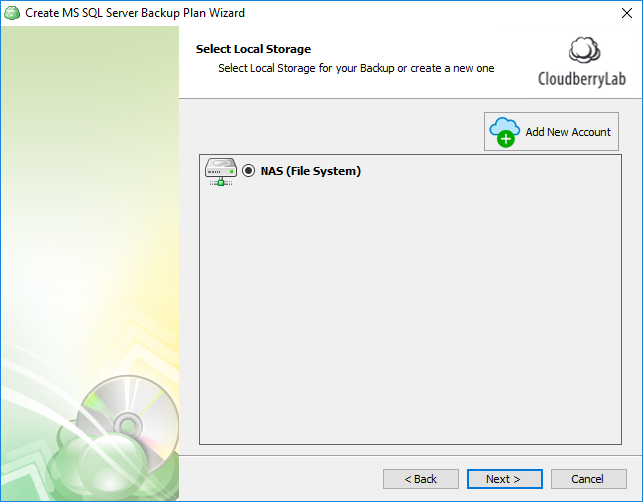
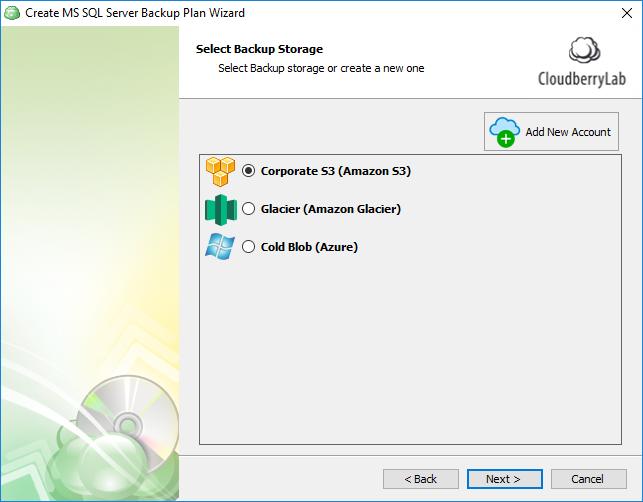
Select the backup destination(-s) and click Next.
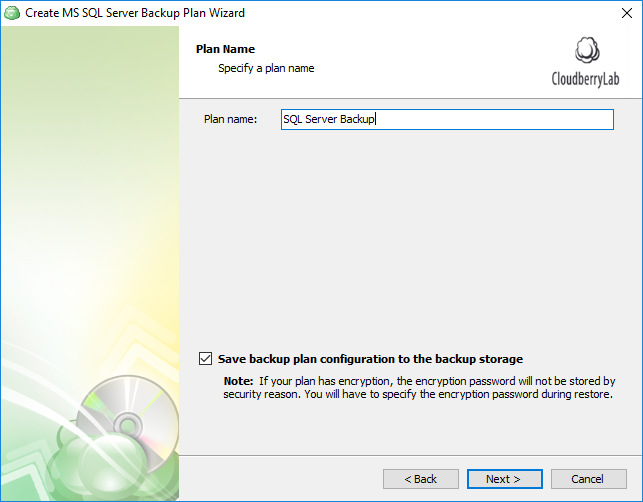
Enter a plan name and proceed to the next step.
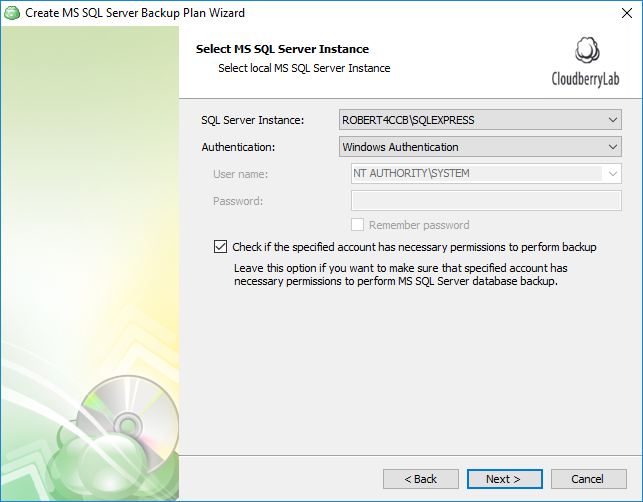
Now let’s specify the information about the SQL Server. Select the desired SQL Server instance from the drop-down menu and login authentication type/credentials. If you want Nubepant Backup to check if the specified account has the necessary permissions to run a SQL Server backup, leave this option checked. Click Next.
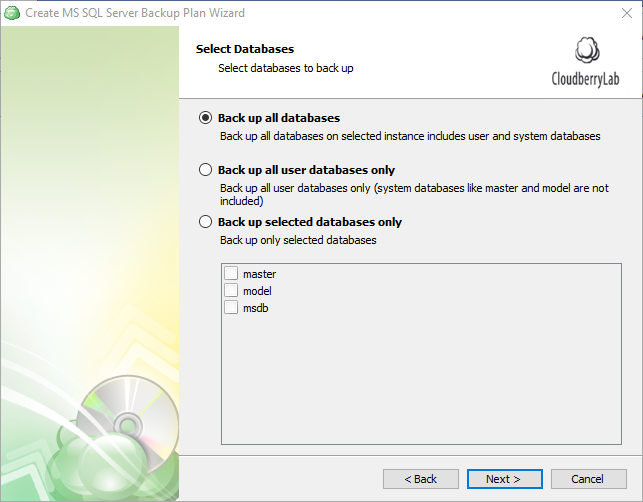
Next up is the database selection step. Here you have 3 options:
- Back up all databases. This is by far the best option for disaster recovery. If your server breaks down, having a complete database backup will enable you to restore the system as it was prior to the calamity. This type of backup includes all system databases like master and model and all user databases.
- Back up all user databases only. This option only backs up user databases.
- Back up selected databases. The final option lets select specific databases for backup. It goes without saying that if you back up only certain databases, the rest of them will sink into oblivion following a disaster. For that reason we recommend you back up all databases.
Click Next.
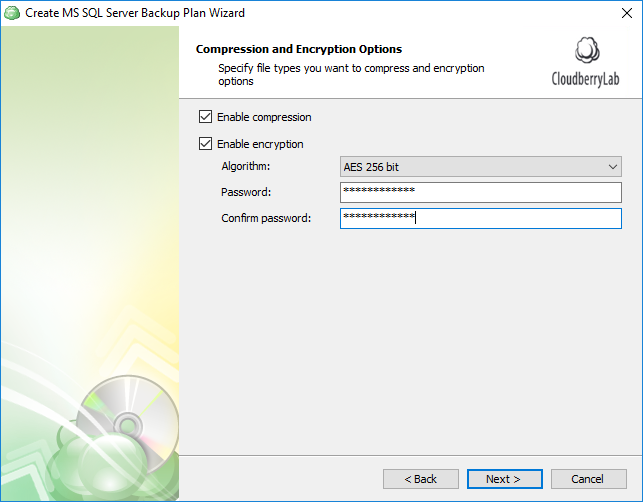
Next up is compression and encryption. As we’ve already mentioned, Microsoft employs a proprietary backup compression for SQL Server — but not for all versions or editions. Here are the supported versions:
- SQL Server 2008: Enterprise, Developer;
- SQL Server 2012 and higher: Enterprise, Business Intelligence, Standard, Developer.
If the version/edition supports native backup compression, Nubepant Backup enables this option during backup. When a version/edition of SQL Server does not support native backup compression, Nubepant Backup uses its own compression algorithm — as is the case with other types of backup.
For reference: SQL Server 2008 Enterprise and later versions support compressing backups, and SQL Server 2008 and later versions can restore a compressed backup.
Regarding security, Nubepant Backup offers 256-bit, military grade encryption which will firmly protect your most sensitive databases and transactions.
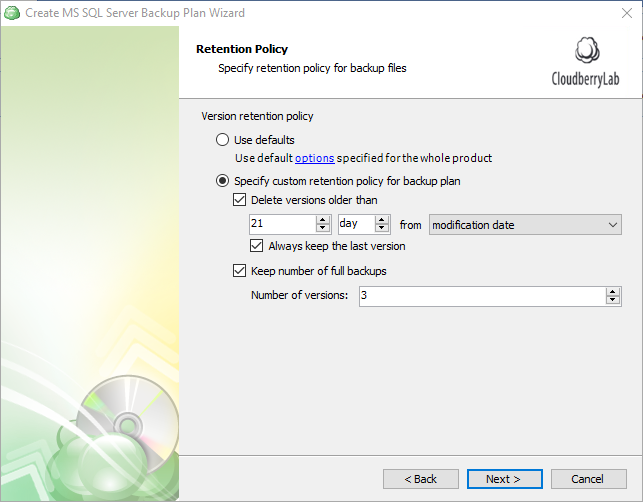
Next, specify the retention policy.
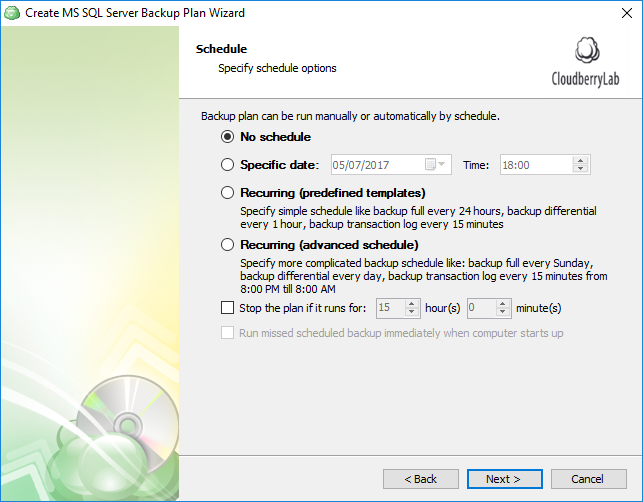
Now it’s time to set the schedule. It is in fact a critical step, as here we slowly transition to the deeply important database backup types. You have 4 options to choose from:
- No schedule or Specific date. It’ll be a one-time job; a full-backup will be performed with no differential or transaction log backup taking place.
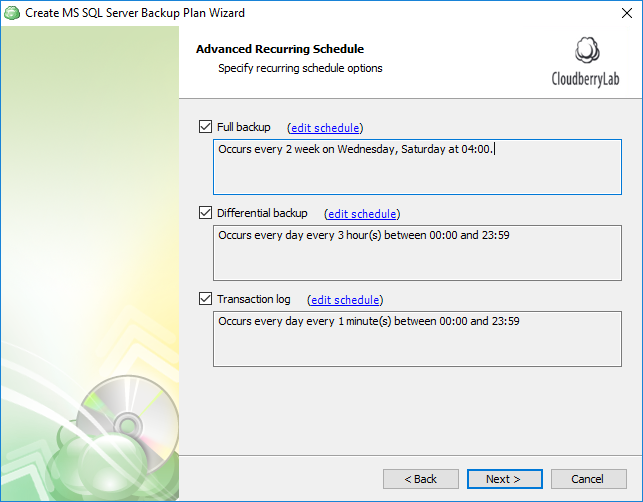
- Recurring schedule with predefined or advanced templates. These two options enable you to meticulously configure your SQL server backup schedule: the frequency of full, differential, and transaction log backups.
Here’s the definition of these terms:
- Full backup — a database backup that contains all the needed information in a database to perform a full restore
- Differential backup — a database backup that contains only the data that has changed since the last full backup.
- Transaction log backup — a backup of current database transaction that includes all log records that were not backed up in a previous log backup.
Note that SQL Server backup and restore operations occur within the context of the recovery model of the database. Recovery models are designed to control transaction log maintenance. A recovery model is a database property that controls how transactions are logged, whether the transaction log requires (and allows) backing up, and what kinds of restore operations are available. Three recovery models exist: simple, full, and bulk-logged. Typically, a database uses the full recovery model or simple recovery model. A database can be switched to another recovery model at any time in the SQL Server settings. If you want to perform transaction log backup, ensure that your database recovery model property is set to Full or Bulk; any other value will result in an error.
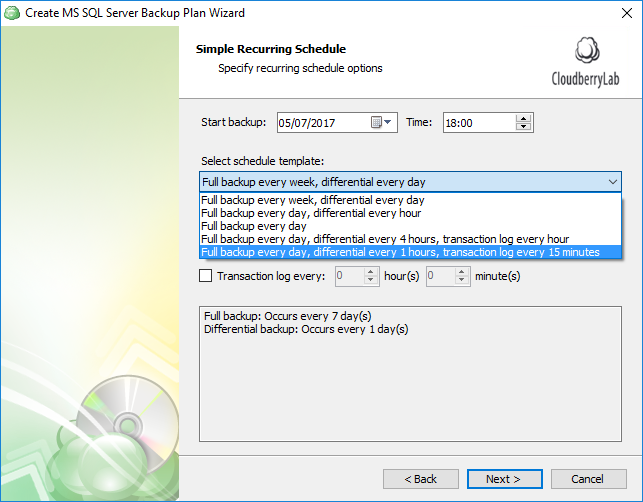
Having selected the predefined templates, you’ll be able to choose from one of our recommended templates. We provide fairly sensible backup schedules, and you can also configure the parameters to your liking.
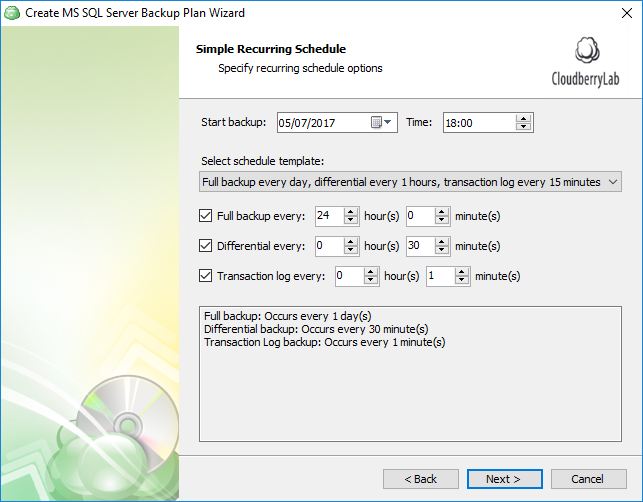
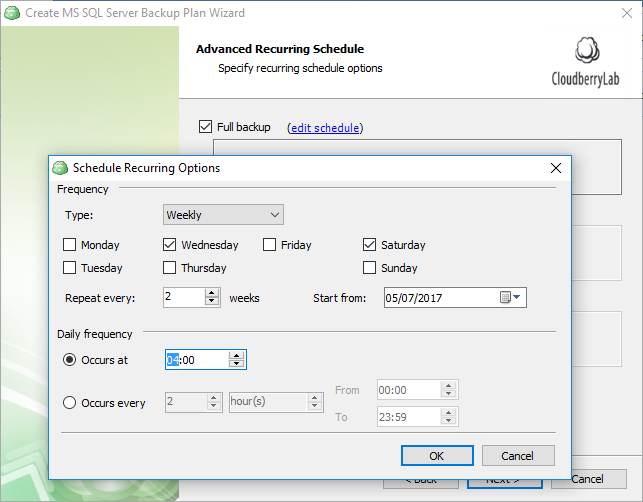
Alternatively, if you opt for advanced scheduling, the level of customization rises dramatically. Here you can indicate the required frequency by minutes/hours/days, schedule bi-weekly backups, and so forth.
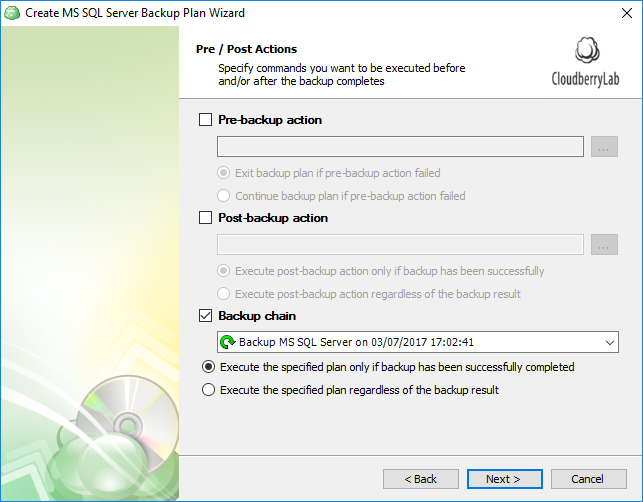
 Next up is pre- & post- actions — where you can specify scripts to be executed prior to and right after the plan execution. Finally, you can create a backup chain.
Complete the backup wizard and wait for the next scheduled execution or execute immediately if you need to run a backup immediately.

In a short while you backup will be complete, and the backups will be displayed in the backup storage tab.

It’s important that you only have your SQL Server backups running from a single product. If you currently back up using native SQL Server scripts, maintenance plans, or another product, we recommend that you first disable those backup jobs before enabling SQL Server backups with Nubepant Backup.
If you have two products running backups on the same set database, you may end up with differential and transaction log backups that cannot be restored. Do feel free, however, to utilize our Hybrid Backup feature to back up your SQL server to two different locations.
As an example, let’s say you use two backup products and do the following procedure:
- Back up your Customer database using Nubepant Backup (CustomerFull1).
- Perform the first differential backup for that database using CloudBerry Backup (CustomerDiff1).
- Back up the Customer database using another product (CustomerFull2).
- Perform the second differential backup for the master database using Nubepant Backup (CustomerDiff2).
You would expect that CustomerDiff2 could be restored after CustomerFull1, but in reality CustomerDiff2 is based off of CustomerFull2 — created by a different product.
This case only applies to individual databases. If you perform a backup of two different databases using two different backup plans or backup products, there should be no issues.
Restore Database from Backup on SQL Server
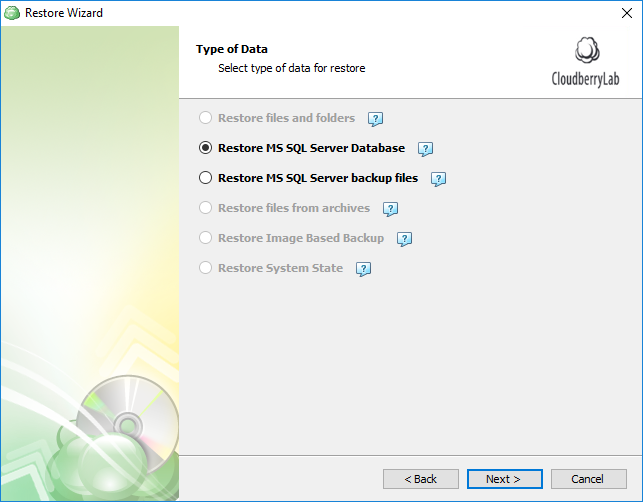
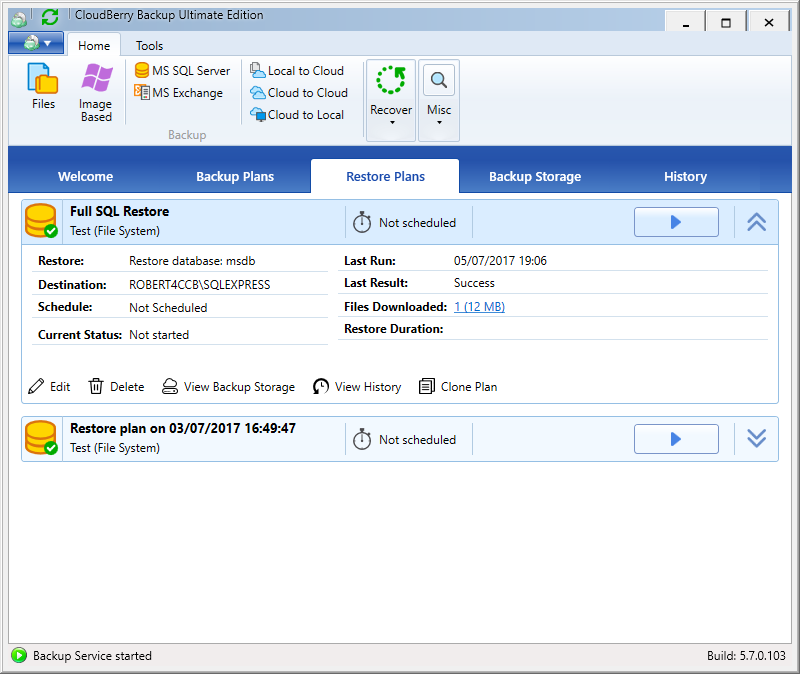
To restore SQL Server data, launch the Restore Wizard by pressing Ctrl+R. You have two options here: Restore a SQL Server database or simply restore the SQL Server backup files to a specified location. We’ll go with the first option.
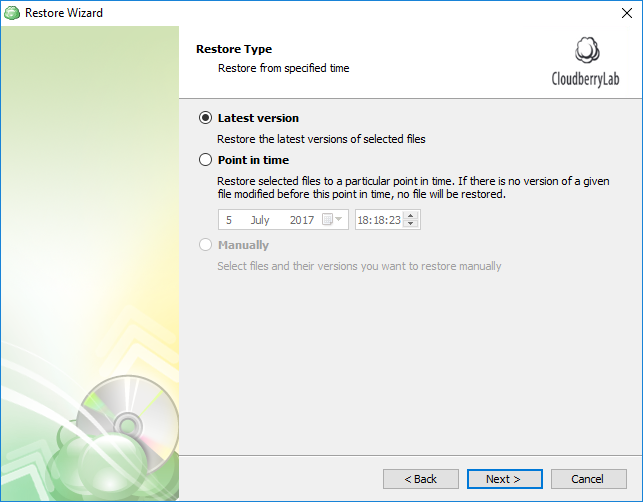
Specify the version of the backup you want to restore. You can even «go back in time» and restore the databases to a certain moment in the past. Nubepant Backup will automatically send the SQL Server the required combination of full, differential, and transaction log backups.
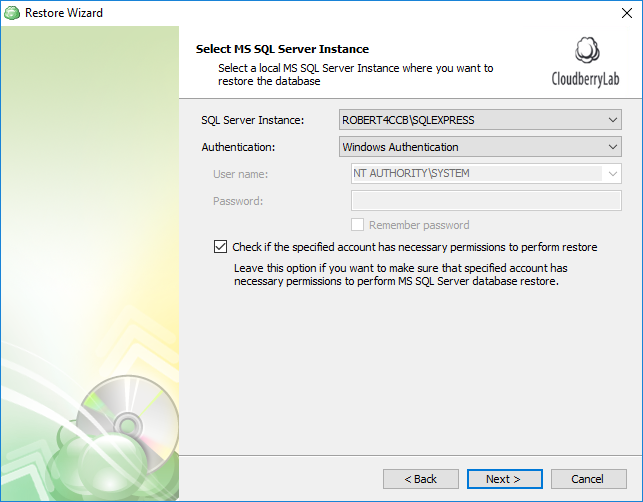
Select the SQL Server instance, preferred authentication method and login information. Click Next.
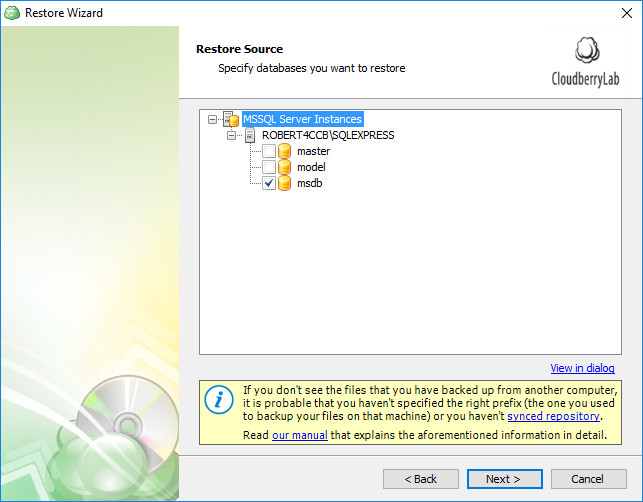
Select the databases you’d like to restore.
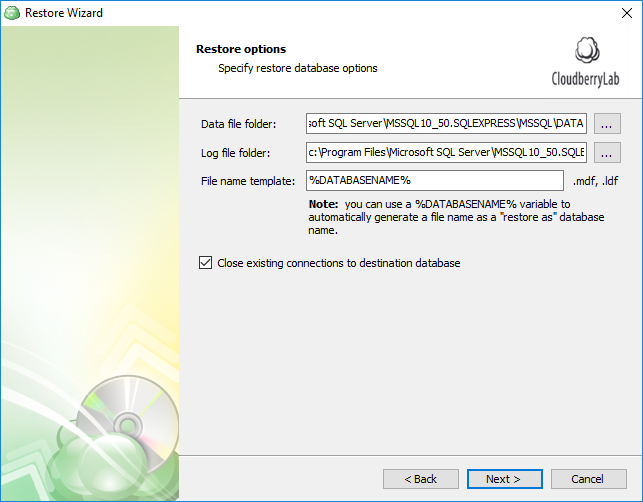
 If you select Overwrite the existing database, then Nubepant Backup instructs SQL Server to overwrite the database if it exists on the instance. This is a destructive operation, so select this option only if you are sure you want to overwrite the existing database.
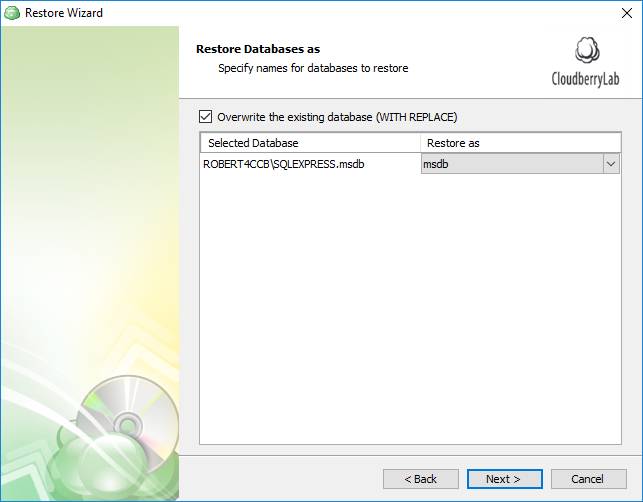
SQL Server cannot overwrite and existing database if users are currently connected to that database. If you are sure you want to overwrite the database and are fine disconnecting any users connected, then select the Close existing connections to destination database checkbox to avoid a restore failure.
Complete configuring the plan and execute it afterward.
So this is how you back up and restore Microsoft SQL Server via Nubepant Backup. If you’d like to dive deeper into the matter, be sure to take a look at Microsoft’s documentation on SQL Server backup.